

Start the Installation If your web host offers one-click software (Softaculous or Installatron for example), you can install Matomo in one click. Otherwise, follow these steps:
Unzip the zip file to a folder on your hard drive. This will create a “matomo” folder containing the files and directories. Open your FTP client and upload the Matomo files in ‘binary mode’ to the desired location on your web server. For example using the Filezilla FTP client, you can enable Binary mode transfer in the top menu Transfer > Transfer type > Binary). All files can be uploaded to a “analytics” sub-directory in your public www folder, for example yourdomain.org/analytics or you could setup Matomo in its own subdomain and upload all the files at analytics.example.org If you have SSH access to your server, you can use it instead of FTP as it is much faster: run wget builds.matomo.org/matomo.zip && unzip matomo.zip
When Matomo is uploaded you can move on to the next step!
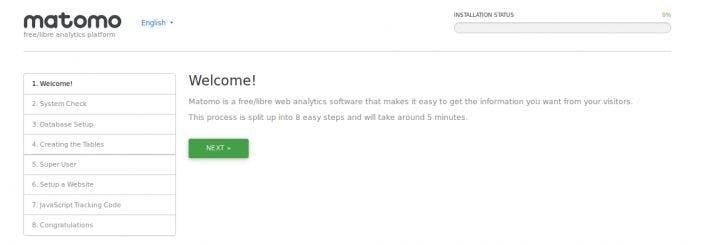
The 5-minute Matomo Installation Open your web browser and navigate to the URL to which you uploaded Matomo. If everything is uploaded correctly, you should see the Matomo Installation Welcome Screen. (If you are not seeing the Welcome screen, also check that your web server such as Apache or Nginx or IIS is configured and working). If there are any problems during the installation, Matomo will identify them and help you out with a solution.
The Welcome Screen Time to get started with the point-and-click installation! Click Next »
System Check Matomo will check to make sure that your server meets the Matomo requirements. If everything is okay, you’ll see a long list like this:
If there is a problem, Matomo will identify it and tell you how to solve it, as in this example: